
DIY At Home Slip 'n Slide
Posted by Grange Co-op on 3rd Aug 2022
It isn’t summer without spending some quality time in the water! There’s nothing kids love more than water, whether it’s in the pool, at the beach, or right in their own backyard. You don’t have to spend a lot of money to give them the refreshing fun that they crave. This DIY slip ‘n slide is easy, and it doesn’t require any special talent to get it up and running. If your kids are ready for some summertime fun, let’s get started!
How to Make a DIY Slip ‘n Slide
1. Start with a Soft Foundation
Choose a location with dirt or sand that will give kids a safe place to glide. The landing spot should be away from patios, driveways, and swimming pools. Stay away from any hard surfaces that could cause a serious injury. You never know how far from the landing someone might end up.
If an area of your yard has a slight incline, use it to your advantage. That’s all it takes to help propel sliders forward and make using the slip ‘n slide more fun.
2. Clear the Area of Sticks and Rocks
Remove anything that might stick sliders through the plastic as they glide down the tarp.
3. Decide How Long to Make It
Slip 'n slides come in a wide range of widths and lengths. One advantage of making a DIY slip ‘n slide is that you can make it fit your space and budget. Keep in mind that the longer you make it, the more your materials will cost. Still, considering the type of materials needed, even the longest slip 'n slide shouldn’t be that expensive to make.
Consider how much space you have in the yard. Allow for a 40-foot runway on the lower end. You will probably want to make a longer runway for older kids and adults.
4. Invest in Quality Plastic Sheeting
There are all kinds of plastic sheeting out there, ranging from thin stretch film to heavy-duty 20-mil industrial sheeting. You should use at least 6-mil construction sheeting that resists stress. It can withstand the barrage of bodies sliding across it without breaking down.
Plastic sheeting comes in a range of colors, including clear and white. Avoid black sheeting that absorbs heat from the sun as well as types with seams that can cause injuries.
5. Line the Edges with Pool Noodles
Pool noodles are ideal to use as bumpers to keep sliders on the slip ‘n slide and off the grass. Lining the plastic with noodles helps ensure you get the full extent of the ride. Line the inside edges of the plastic and secure them with anchor pins, Velcro, or water resistant tape. The advantage of using Velcro is that you can remove the noodles when you’re finished so you don’t damage the plastic when you need to put it in storage.
6. Make the Slip ‘n Slide Slippery
Water alone isn’t enough to propel you down the plastic. You will have to add a lubricant to make the plastic slippery. Dish soap might be okay if you’re making a tarp slip and slide for adults, but it can be irritating to kids’ eyes. Tear-free baby soap is a better choice when it’s for the little ones.
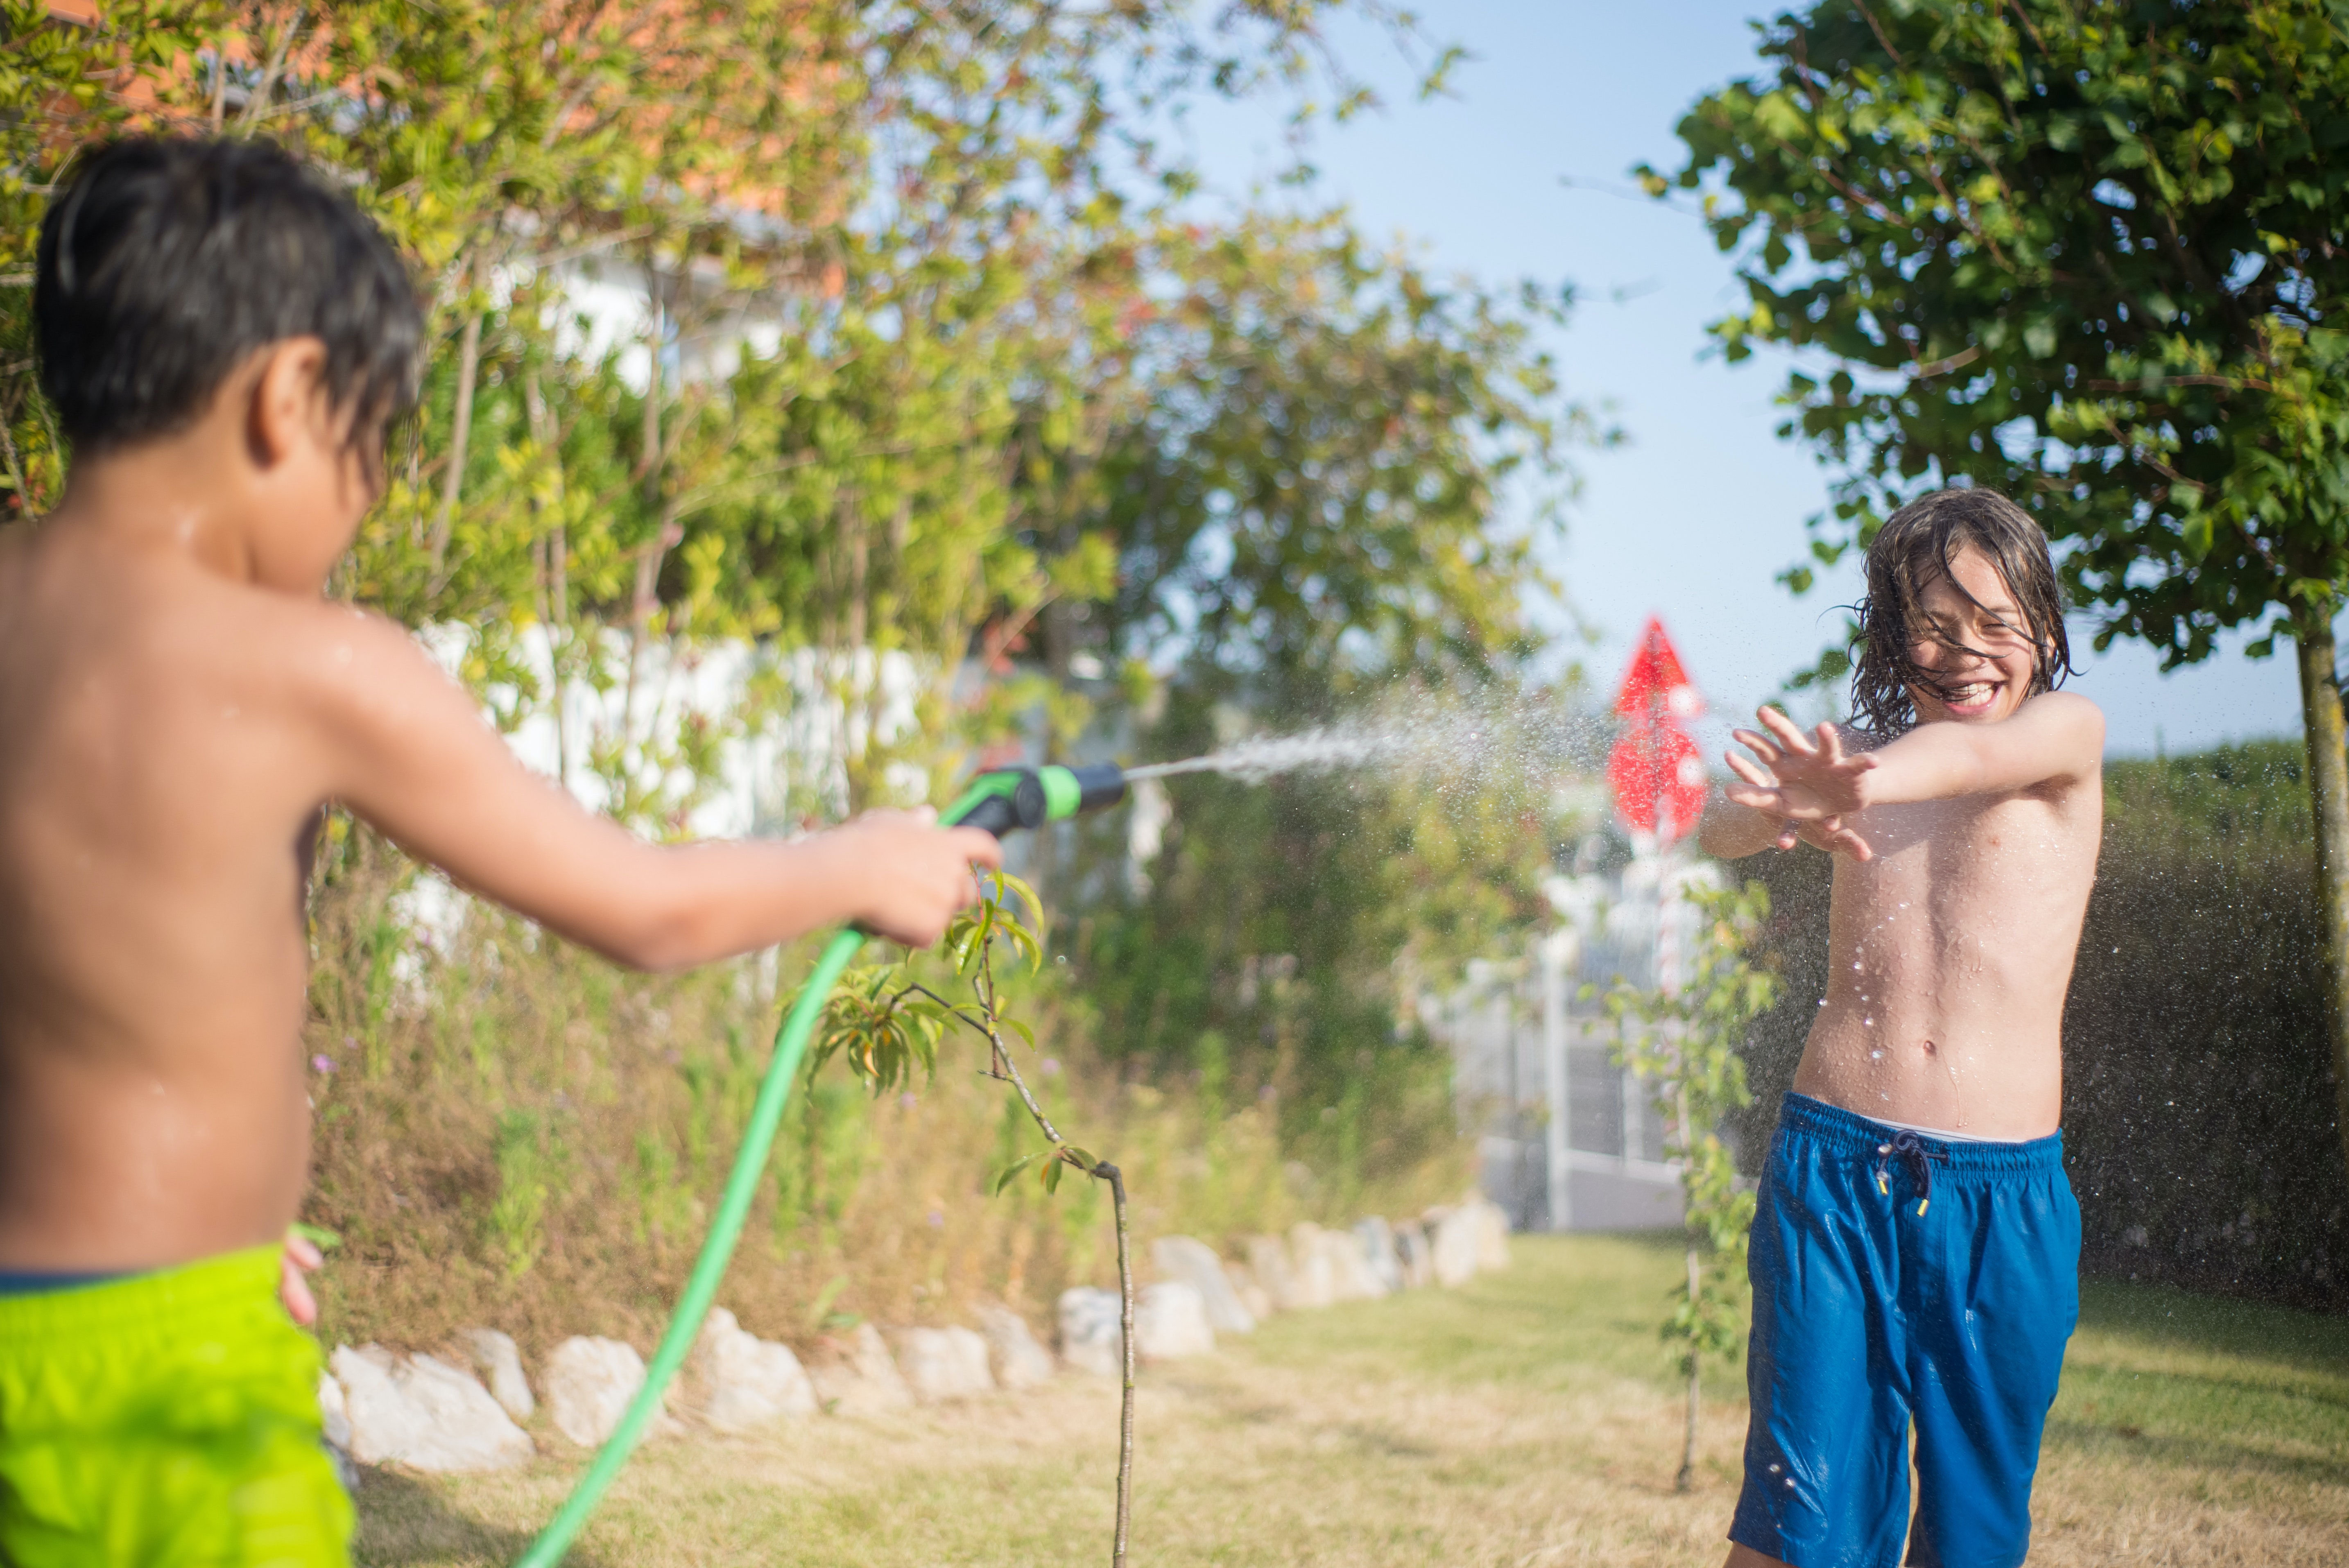
7. Provide a Water Source
The water is the propellant, and it also contributes to the fun. You will need a primary water source at the top of the slide to help the sliders accelerate along the course. When determining how long to make the slip ‘n slide, think about how much water it will take to cover its entire length. Placing sprinklers along the sides will add to the fun.
8. Recycle Old Water Hoses
If you have old water hoses that have some leaks, this is a great time to put them to good use. Drill some holes in them and place them along the edges of the DIY slip ‘n slide. Make sure you have adequate drainage on your lawn to prevent turning it into a mud pond. You can also adjust the water pressure so it doesn't build up water on the lawn too quickly.
9. Make It into a Kickball Field
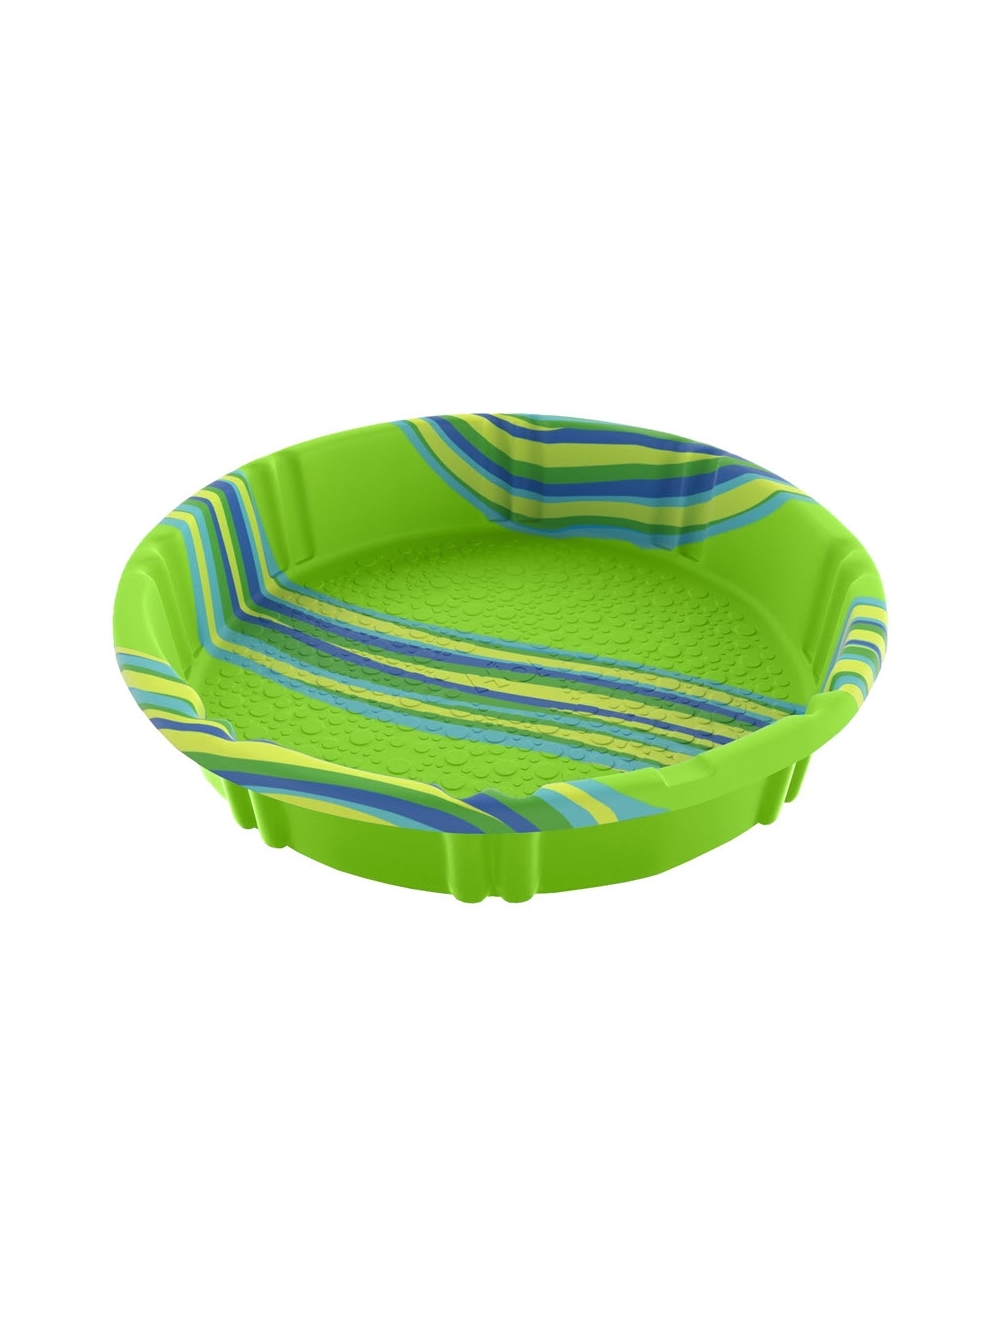
With the addition of some kiddie pools, you can make a slip-and-slide kickball DIY course for the ultimate summer fun. Set the plastic up in a diamond pattern and put the pools where the bases will be.
When playing kickball with kids, place carpet or another type of padding under the plastic to prevent injuries from falls. It’s a great way to make a tarp slip and slide for adults but it’s cooling fun for all ages.
Shop Grange Co-op for Materials for Your Summertime DIY Projects
If you need help choosing the right plastic sheeting for your DIY slip ‘n slide, contact Grange Co-op. We are here to assist you with everything you need for a fun and refreshing summer.
*Disclaimer: Grange Co-op hereby claims no responsibility or liability for personal injuries or damages that may occur during the construction and use of the product described in this application.