Starting Seeds
Posted by Grange Co-op on 16th Jan 2018

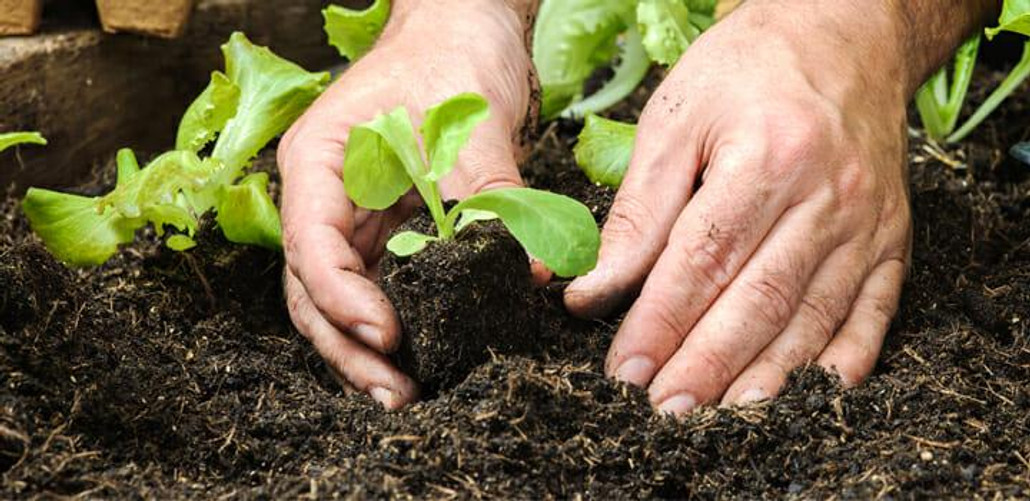
We all love Spring. The warmer weather, the sunny skies, and green hues are irresistible. For many, Spring means gardening season and at Grange Co-op we’re here to help you make this the best Spring ever! You can tackle this exciting time of the year now, including starting your own seeds. Sprouting and nursing your own seedlings is rewarding, and your Grange Co-op is here to assist.

TOOLS
We suggest purchasing a premium soil mix, such as G&B Seed Starter. This product is natural, organic, and ready to use. G&B Seed Starter creates the ideal growing environment for seeds and is available at any of our Grange Co-op stores.
Ideally, purchase wide, shallow containers or individual cell packs to prevent overcrowding the seedlings and reduce excessive moisture retention. No matter what shape of container you use, it is extremely important that it has small drainage holes in the bottom of the container. Fill the container with G&B Seed Starter. Place the seeds into the mix and cover lightly with seed starter. (About three times the thickness of the seed.) Lightly tamp the soil to ensure firm contact between the seeds and mix.
Seeds are sensitive to overwatering and underwatering. We recommend when rehydrating your seeds, placing the entire container in a basin of 2-3 inches of water. The soil mix will wick-up the moisture from below. If the surface needs watering, it is best to spritz with a spray bottle. Prior to germination, a pot covered with plastic wrap will assist in moisture retention, but remove this plastic once the seeds begin to sprout from the soil. Another important note, for successful germination, most seeds require 65° to 75°F. Maintain this temperature by carefully keeping the pots near a heat vent or purchasing a heat mat that is designed especially for seed starting.
LOCATION
Keep seeds in an area with plenty of air circulation to avoid fungal infections. If needed, a small room fan set on low is a good setup to maintain air flow. You can also add a sprinkling of sphagnum moss to keep the surface of the soil dry, which will prevent the growth of pathogens.
Ideally, provide your new sprouts with 12 to 16 hours of light a day. Placing them near a sunny window or purchasing a fluorescent shop light will do the trick. However, when using a fluorescent bulb, avoid too much direct sunlight as this will cause the stems to become weak and spindly as they are constantly reaching for the light. Make sure you turn the light off at night, so your plants can rest. You can also lightly ruffle the seedlings with your hand to promote stocky and strong growing. Seedlings do not have to stay as warm as the seeds and can be taken off the heat mat or heater vent.
Before your seedlings can be transplanted, it is important they are acclimated to direct sunlight and fluctuating temperatures; this is called ‘hardening off’. This process can be managed over a three-day to one-week period by placing them in direct outdoor sunlight during the morning of the first day (2-3 hours), then increasing their time outside by a few hours each day. At the end of the one-week mark, they will be able to survive outside overnight. Shortly afterwards, they will be ready to be transplanted into your garden.
EASY STARTERS
Some seeds are generally easier to germinate than others. These include: basil, broccoli, brussel sprouts, cabbage, cauliflower, chives, leeks, lettuce, onions, peppers, and tomatoes. Annual flowers such as alyssum, cosmos, marigolds, and zinnias are also great options for seed starts.
If you have any further questions regarding successful planting, visit our stores to speak with a Grange Gardening Expert. This year, we encourage you to start some seeds on your own. It is a rewarding experience that can lead to a satisfying and proud harvest.
